How cute is this!! Matching Pacifier Holder, Wipe Case & Changing Pad.

Wipe Case:
The Wipe Case was very easy to figure out on my own.
Here ‘s what you need:
- A wipe case
- Fabric
- Batting
- Ribbon
- Glue gun
First I traced & cut the Batting to the top of the wipe case. Then I traced the Fabric to the top of the wipe case and added some extra space (about 1″) to cover the sides. I hot glued the batting to the top and bottom of the wipe case, then I hot glued the Fabric to the batting, I added glue to the sides, 1 side at a time. Once it cooled I trimmed the edges and hot glued the ribbon to the sides.


- 1 wipe case, 2 cuts of batting. 2 cuts of fabric
- Sides trimmed, just need to add ribbon.
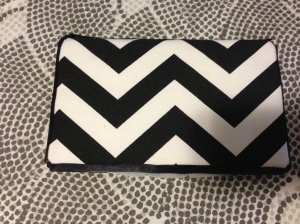
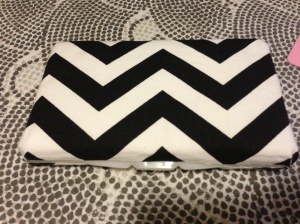
- Finished Product
Changing Pad:

Finished Changing Pad
With the new baby on the way, I’ve been doing a lot of shopping for cute baby products. A lot of things I see at the store, I think to myself, I could save a lot of money if I do it myself. So I turned to Pinterest for help. I found a tutorial that I liked for the Changing Pad on icandy handmade.
- Cut Fabric to 44″L X 13″W (I used left over Chevron Fabric)
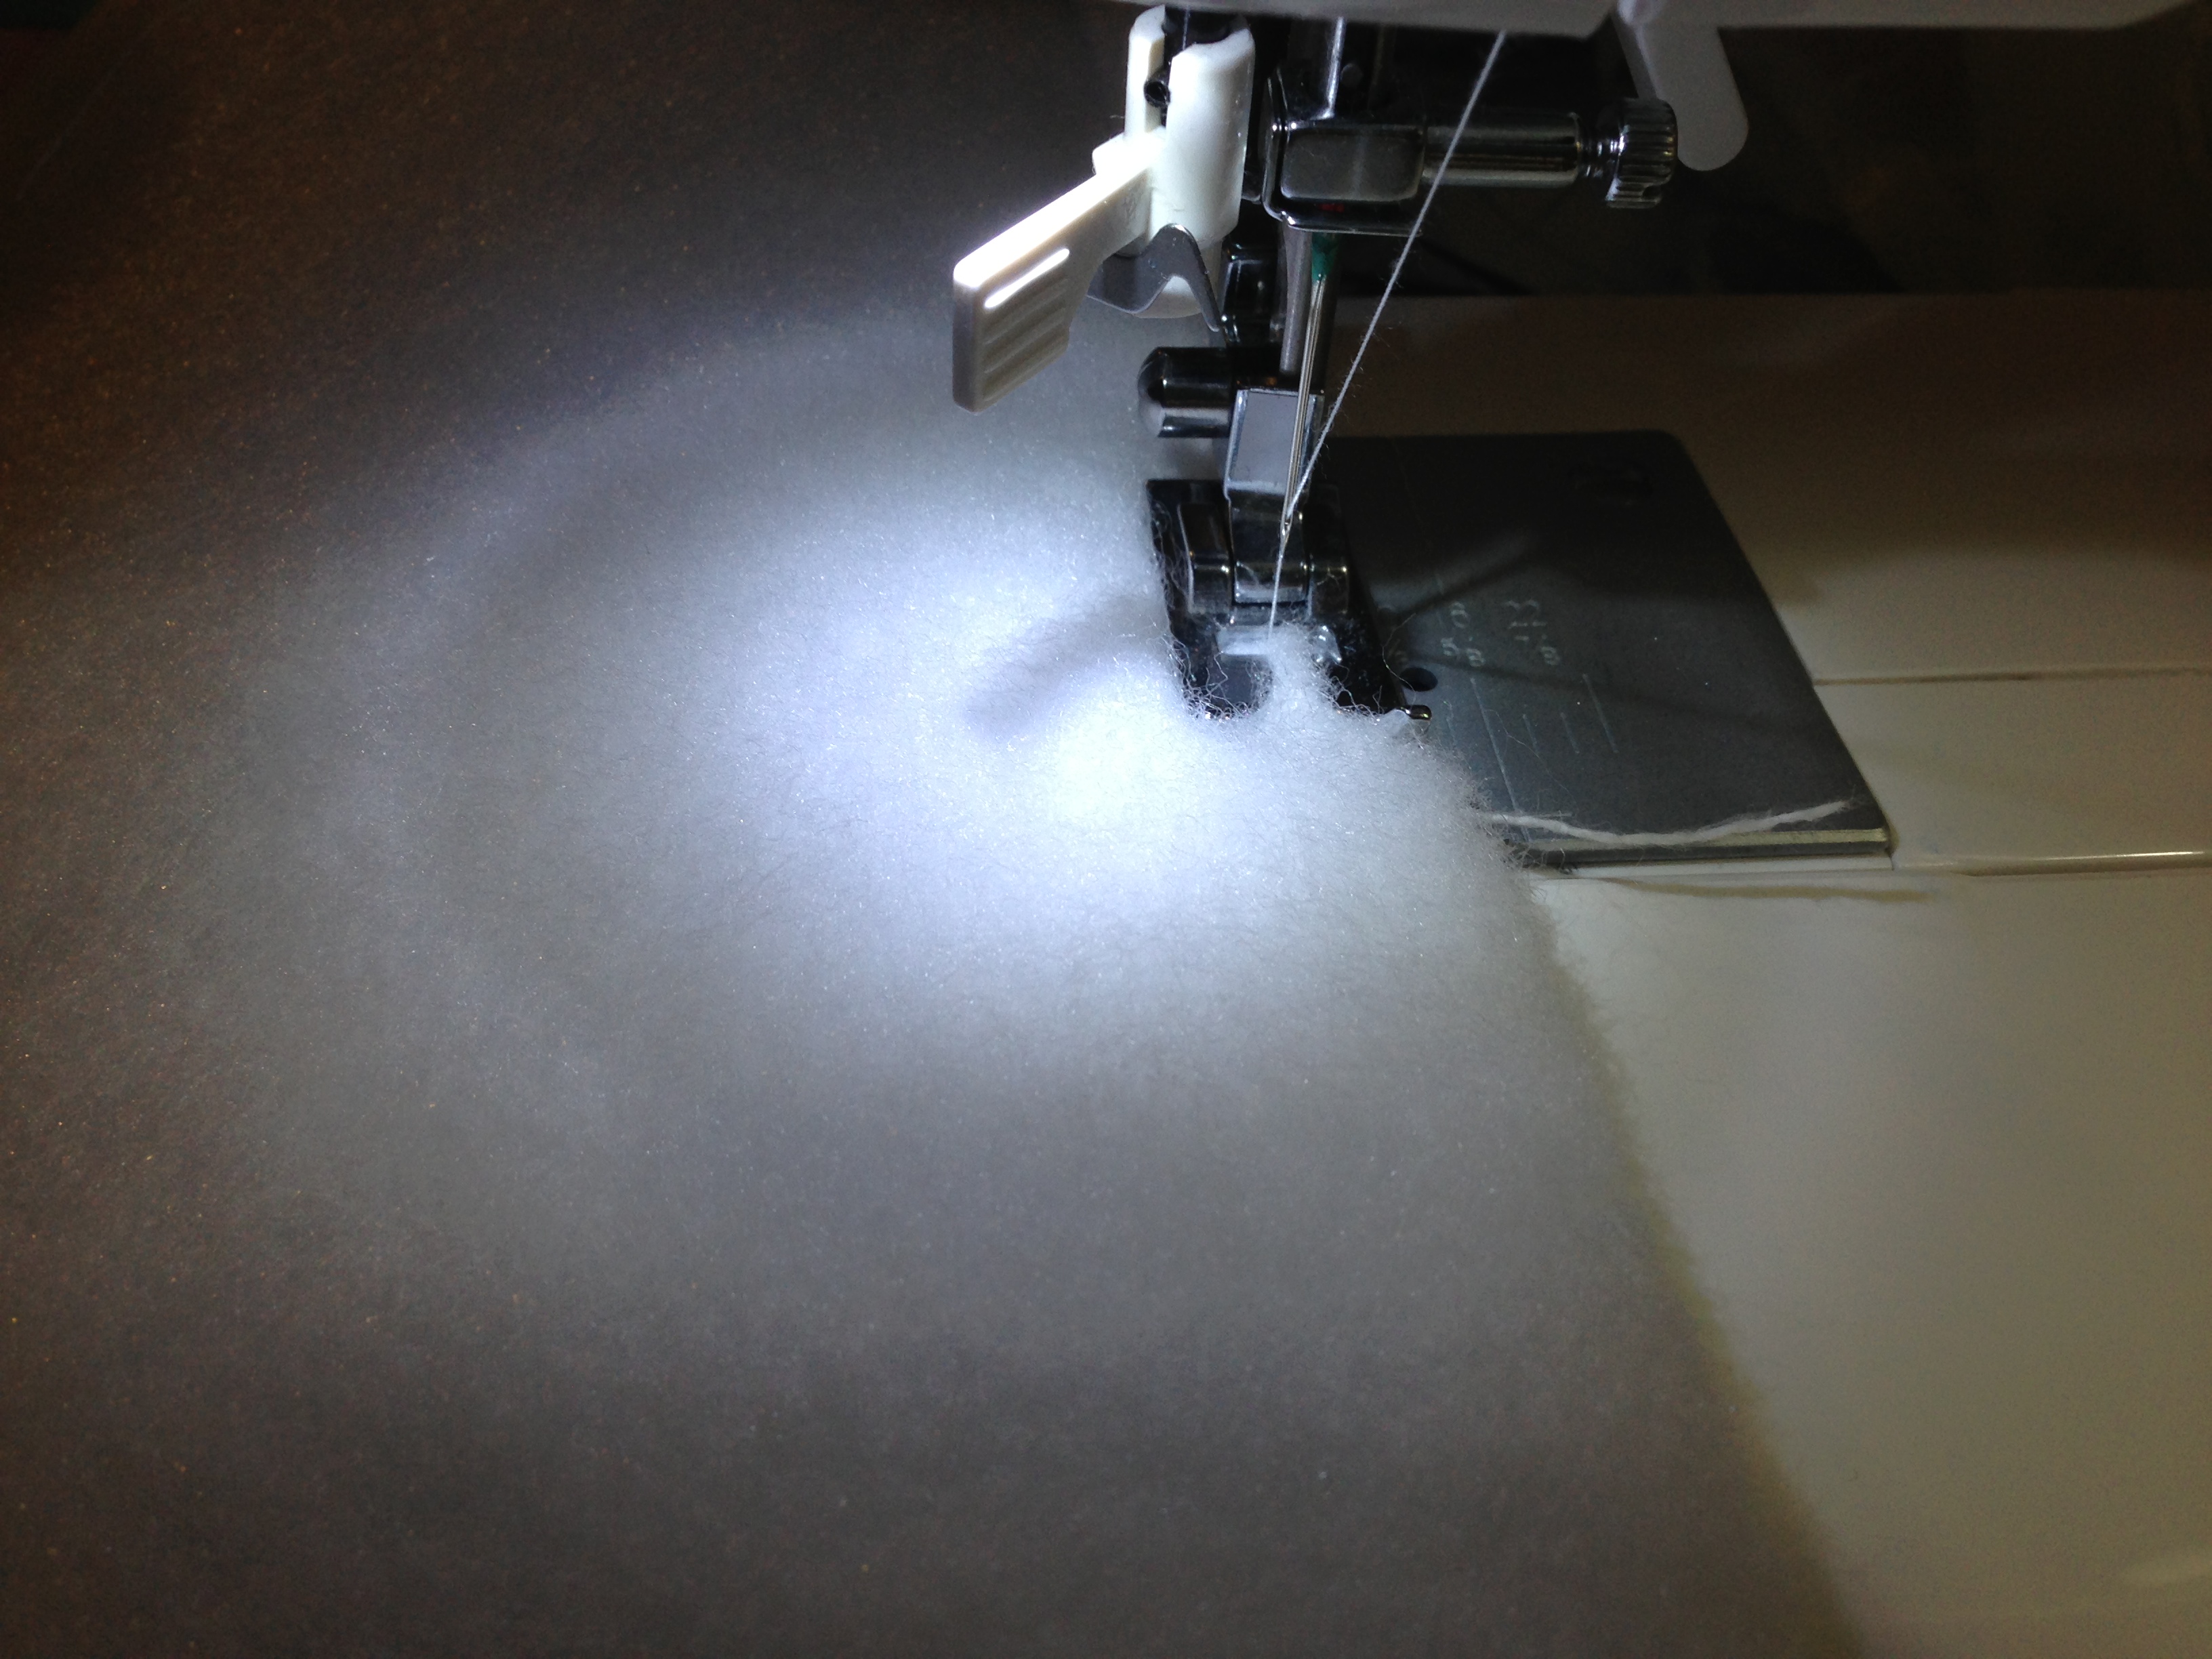
- 1/2″ thick Batting cut to 22″L X 13″W .(My batting didn’t say how thick it was but I choose to double it for extra padding)
- Iron-on Vinyl (Found a 2 yard roll at Hobby Lobby, I was able to use one whole piece. I cut it to 44″L X 13″W)
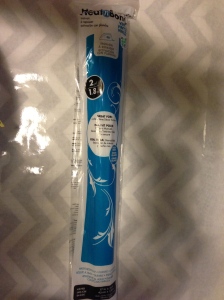
2 yd Iron-on Vinyl
Here is what the fabric looked like with the Vinyl:

I folded the fabric in half right side together and place the batting on top and sewed around the edges (I didn’t pin the batting to the fabric cause I didn’t want any holes on the vinyl) I left an opening on the bottom, flipped it inside out and sewed the bottom closed.


Finished Changing Pad
There is a few things I would change, if I did this again. I didn’t like that the vinyl kinda stuck together when I was trying to flip it inside out and it got all wrinkly. I would have done two cuts of Fabric (22″L X 13″W), added the vinyl to both sides and sandwich the batting in-between the fabric, then I would have sewed around it once, trim the edges and added bias tape on the edges.